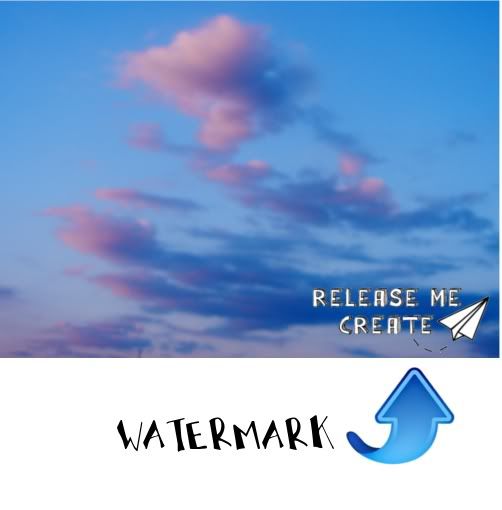
I'm sure you have all seen photographs with Watermarks on them. Watermarks are super important so that no one else can take your photos and claim them as your own. They're also just a good way to identify yourself with your work so people know where the photograph, including the project, tutorial and/or creation within the photograph, originated.
So how do you do it?
Today's video shows how to do this using GIMP. I do believe the process would be similar when using Photoshop. Hope this is helpful!
Below the video I also typed out some basic instructions as well. You can then use the video to clarify!
P.S.Please ignore the end of the video...epic ending failure.
Oh, and to see it larger, you can view it straight from YouTube.
1. Open New File
2. Select TEXT tool and type out your text
3. Size and position your text to desired position
4. Add image if desired
5. Make image transparent (SEE TUTORIAL HERE)
6. Save new image as a GBR file (pay attention to where you are saving it)
7. Find newly created GBR file and move it to the GIMP BRUSHES folder (Search for GIMP using your search bar, brushes folder is within. I like to drag and drop, but you can cut and paste as well
8. To place the watermark, open a photograph in GIMP, select BRUSH TOOL, find the watermark in your Brush Bank (hit little arrows refresh button on bottom right corner if you don't see it right away)
9. Hover brush over photograph and click!
Par-tay!
(For the tutorial on how to arrange your party buttons like below, head HERE)


5 COMMENTS:
thank you for posting this i have been wondering how this works.. :D
Thanks for the tutorial! I really should be putting watermarks on my photos... :-)
thank girl this is great!!!
Thank you so much for sharing this at Taking A Timeout Thursday! This is really helpful. Hope to see you again this week.
-Trish@Mom On Timeout
http://www.MomOnTimeout.com
Hi, thanks for the tutorial. Is there any way to set watermark to many images quickly?
Post a Comment