For this week's project I decided to work on the accent wall of our living room.
Some of you may have heard me mention before, but my Mom has always told me that I was born with saltwater in my veins. I absolutely love the ocean. I married my husband on the beach, and if there is anywhere I ever wish to be, it is sitting on a beach, listening to the waves roll up onto the sand.
Now, the accent wall of our living room is our "Wedding Wall" and since we were married on the beach in St. Lucia, it is subsequently beach themed. However, it doesn't have that typical "beach cottage" feel. We don't live near the water {insert major sad face}, so we didn't necessarily want to have it feel too "beachy" So what I did for my accents was make them black and white silhouettes.
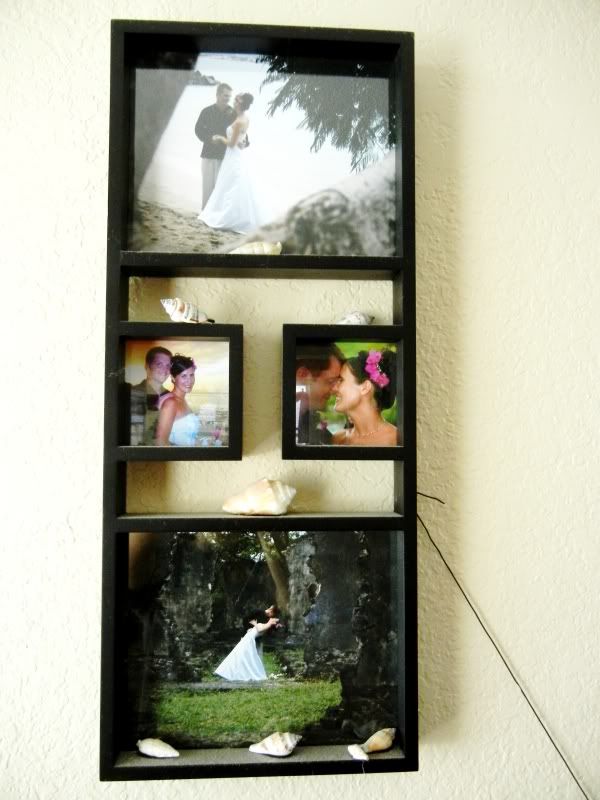
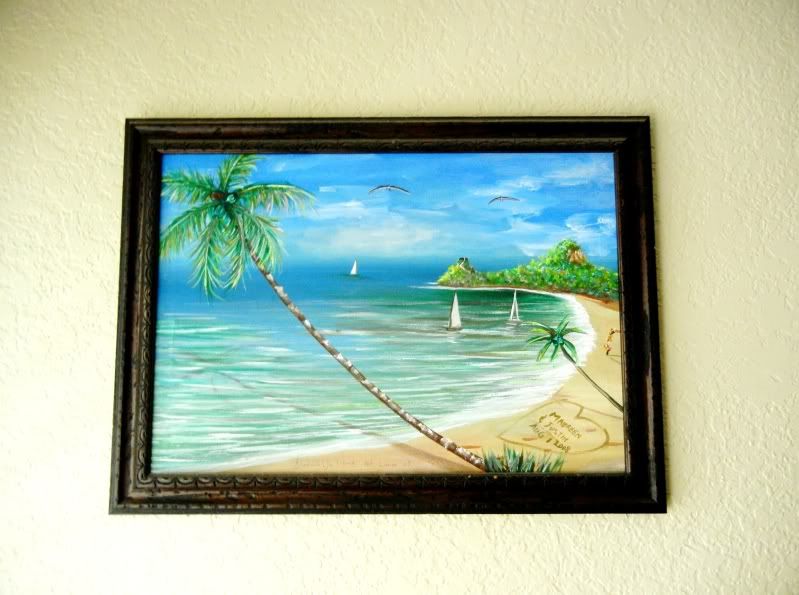
Here are some of the pictures we already had up,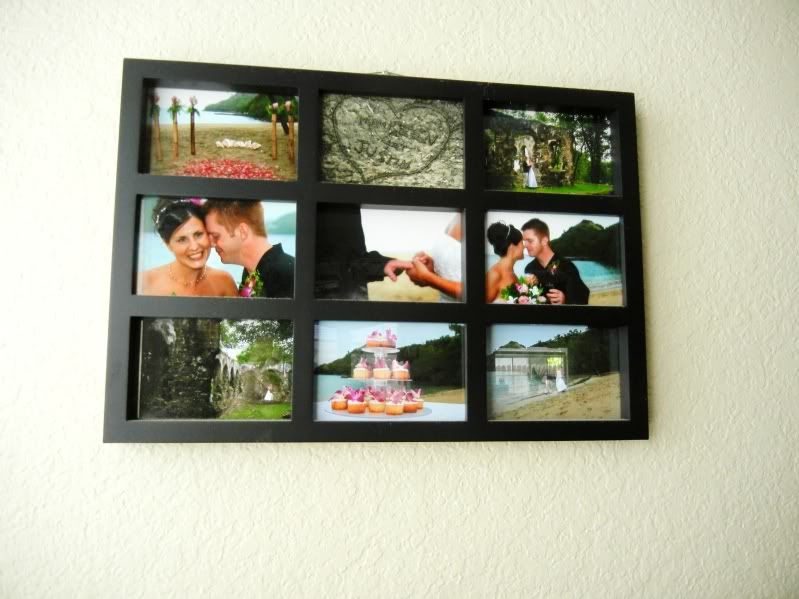
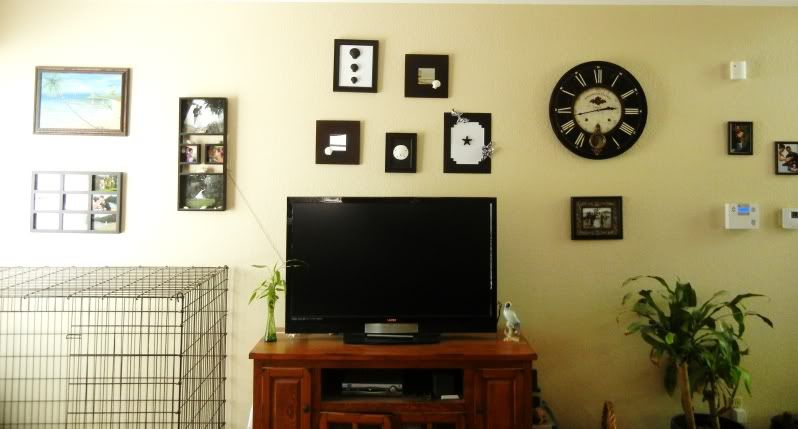
So basically, the individual pieces I worked on this week are:
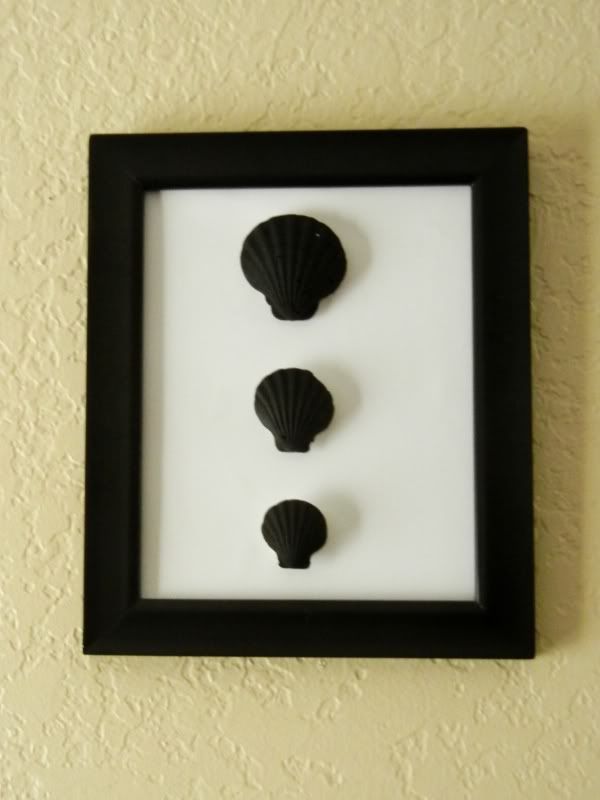
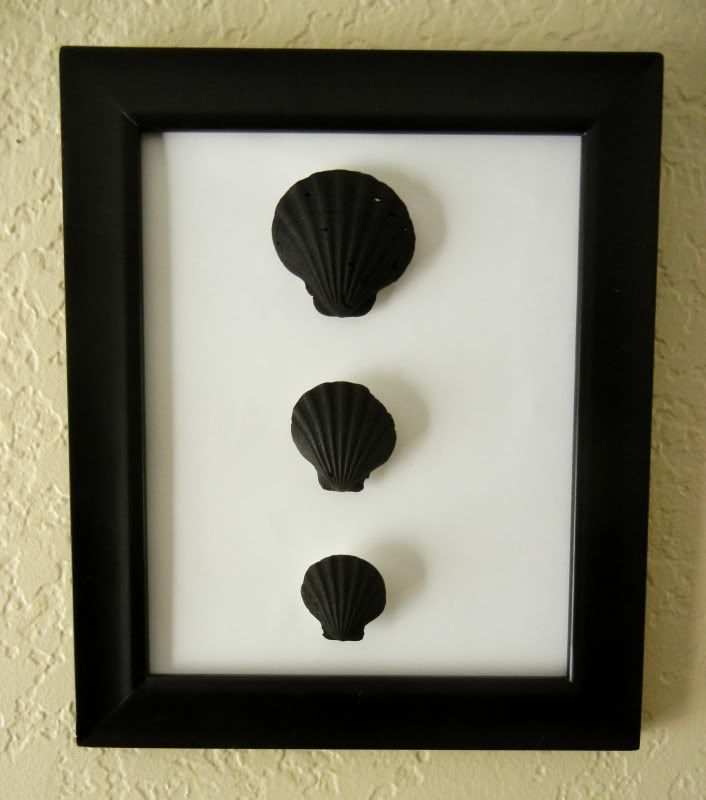
Okay, for the scallop shells, I spray painted them with Rustoleum Chalkboard Paint. I wanted a matte black, and that is all I had on-hand:

I added some foam behind the shells to make them pop a bit more. I painted the foam white.

I mounted the shells onto white cardstock with some heavy duty craft glue, and then just adhered the cardstock to the back of the frame with some Mod Podge. Then I simply inserted the back of the frame into the frame itself! Viola! Easy Peazy.
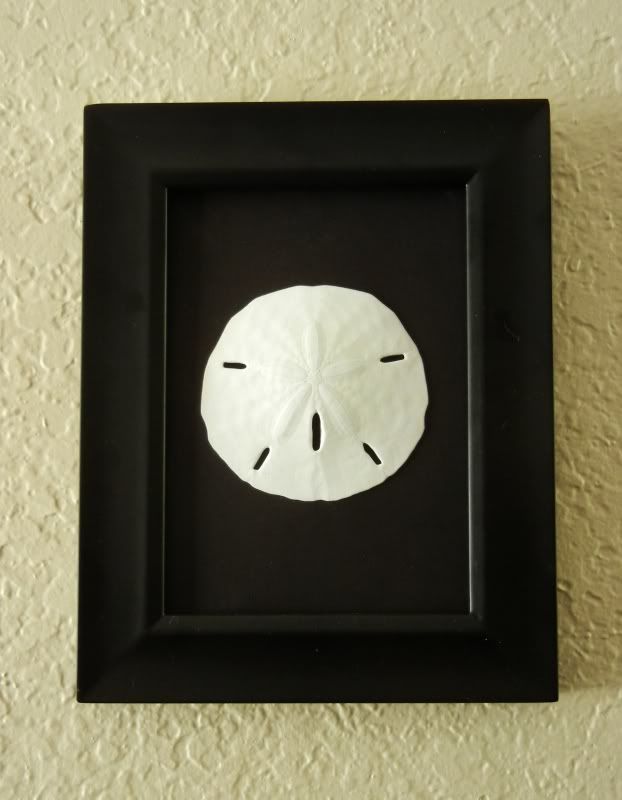
For the Sand Dollar, all I needed to do was adhere it to the black cardstock, then glue the cardstock to the back of the frame, and then insert it into the frame:
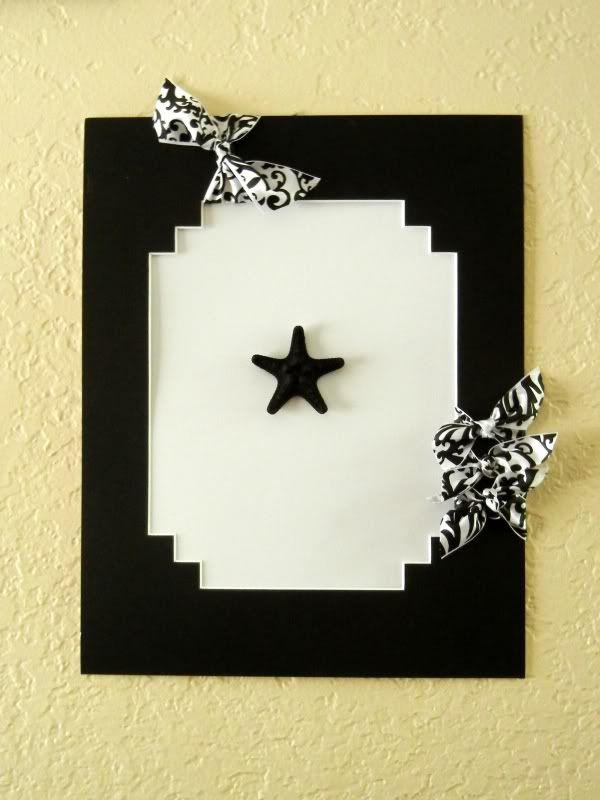
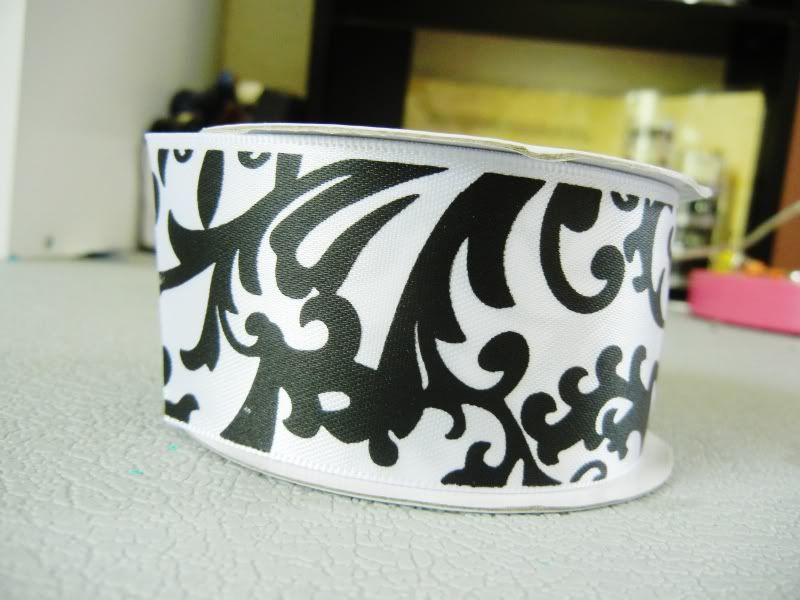
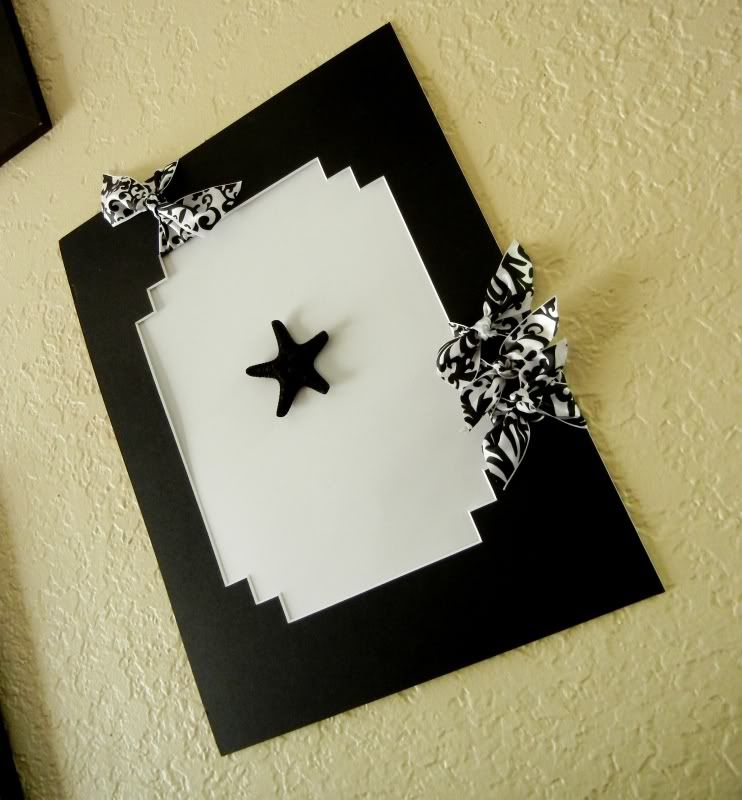
For the starfish, I took a mat that I had gotten from Michaels on clearance. I ran out of frames at the house, so the next best thing was the mat. I decided to add some ribbon accents with this gorgeous black and white ribbon I had also gotten on clearance:
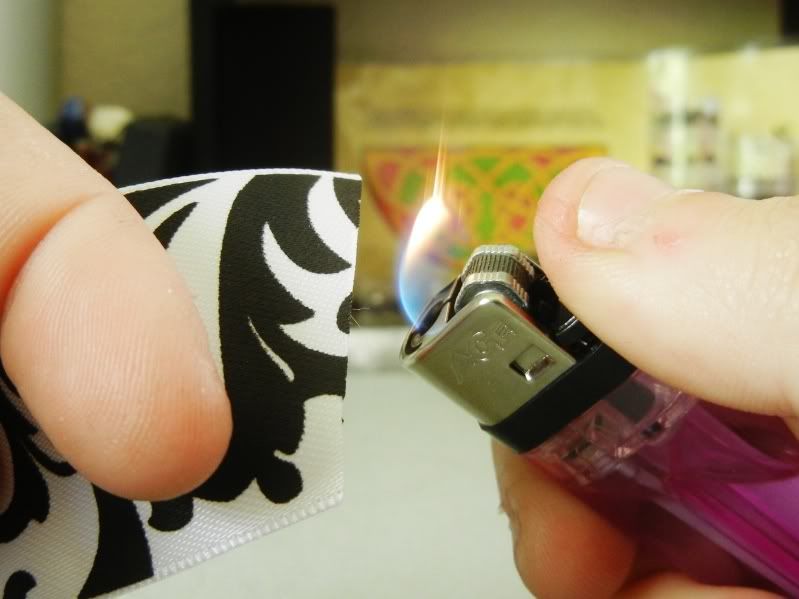
I seared the ends to avoid those pesky frays:
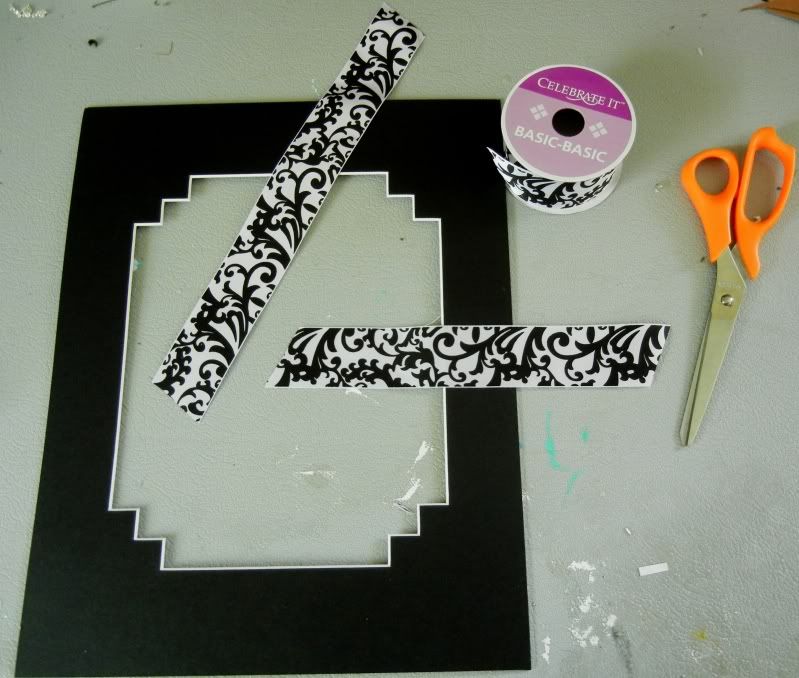
I cut the ribbon into two different sized strips, due to the mat being different sizes on the top and sides.
I then started tying my knots. I did a double knot to make it stay.
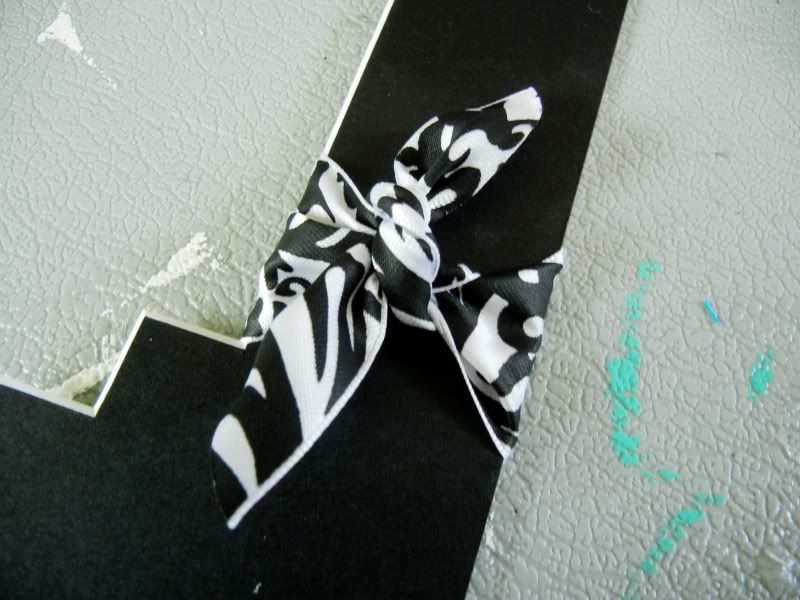
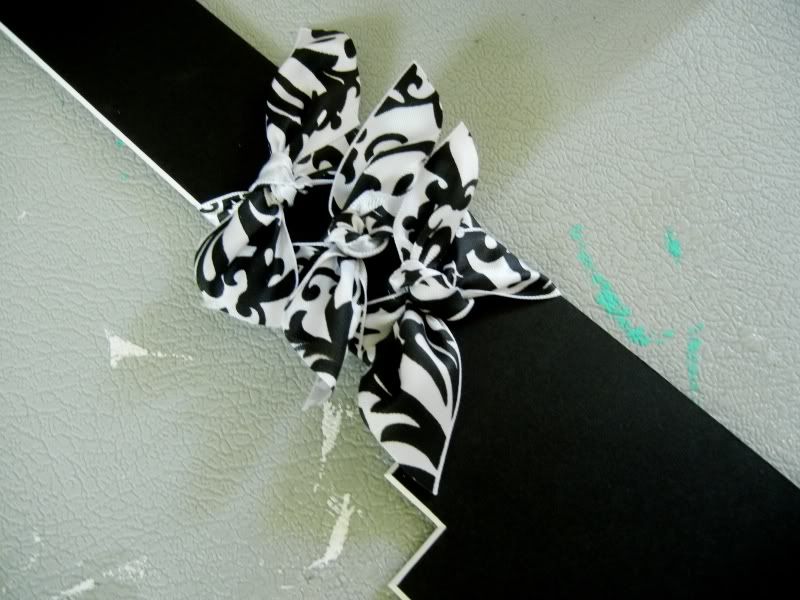
Now, I had planned on doing the ribbon knots the entire way around the mat, but after I did a few I thought it would look better with just a few on the side, and one on the top.
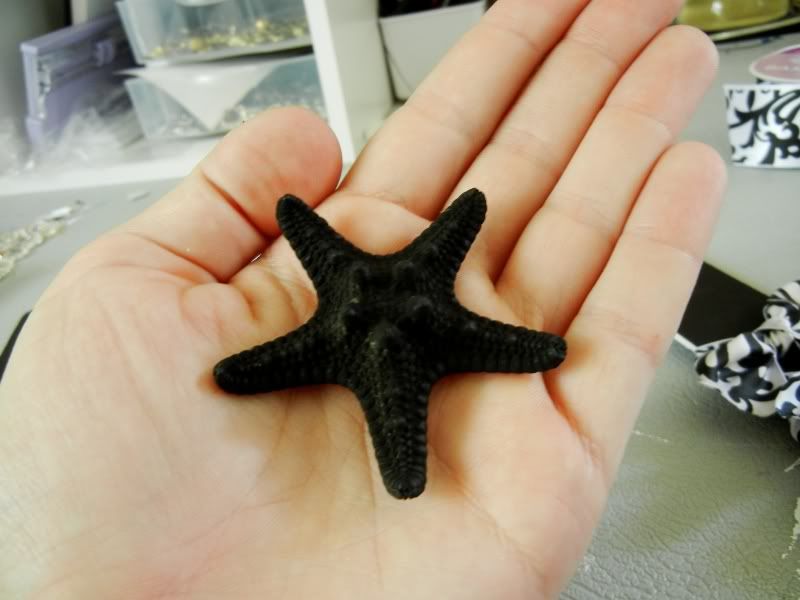
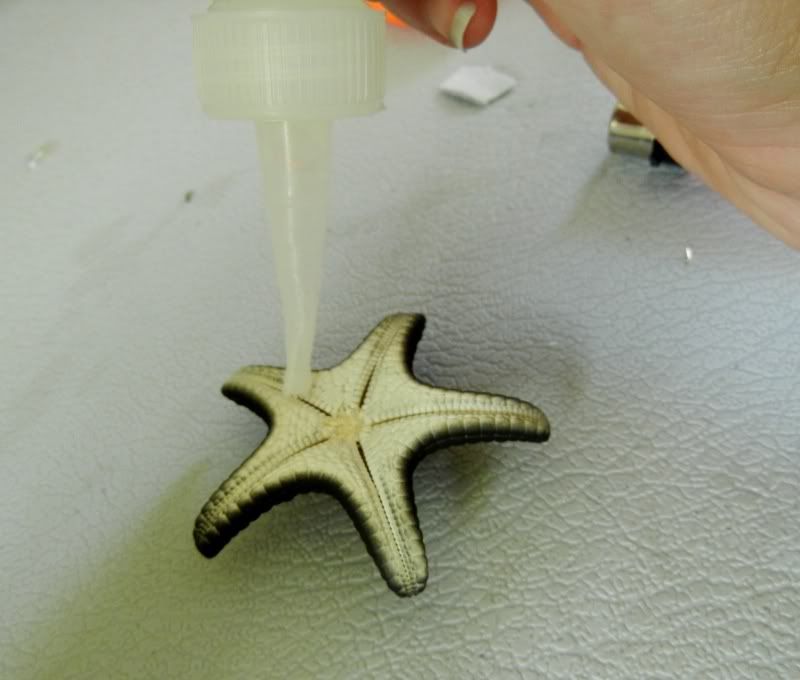
Next I took my cutie pie star, and glued it to the white cardstock.
And here is the finished product:
And here is my finished wall. I love it!

Happy crafting! And happy DIY Wednesday!
Party party time!