Showing posts with label kitchen. Show all posts

Friday, January 6, 2012

Fresh Friday Link Party #11

It's Friday! Hooray!
Before we get to our Freshest Projects of last week, don't forget about my Giveaway where you can win free Digital Scrapbooking Software!
It's pretty amazing, and you can do so many things with it like make photo gifts, dvd's, videos to post to your blog. So hurry up and ENTER, it ends on Wednesday!


NOW...Freshest of the Week!
Peanut Butter Fudge from Raising Oranges

Printable 2012 Calendar from Raising Oranges

Monogram Cork Keychain from VixenMade

Paper Toy from Paper Toy Fun

Ballard Inspired Ikea Hack from On the V Side
Alright, let's get linking! Be sure you are following my blog before you link up (it's only polite) and then feel free to link up your craft and home decor diy, tutorials, recipes, etc. Please, no giveaways or shop links!
Have Fun!!


MyFreeCopyright.com Registered & Protected

Thursday, December 29, 2011

Fresh Fridays Link Party #10

It's that time of the week again!
FRESH FRIDAYS LINKY PARTY! WHOHOO!
Before I get to last week's awesome projects, I must apologize for the lack of posts over the past two weeks. The holidays have been kicking my butt! And yesterday I had ANOTHER health scare with my little Dax. I'll post about that fiasco tomorrow.
But I vow to be a better blogger...do I smell a New Year's Resolution?
BLA BLA BLA...be quiet Maureen...
It is time for the FRESHEST OF THE WEEK!

SONG BIRDS from Bleak to Unique

Cigar Box Scrapbook from Pressed Down, Shaken Together

Silent Night from Redo 101

Apothecary Jars from Artsy Fartsy Mama

Ruffle and Driftwood Wrapping from Teal and Lime


MyFreeCopyright.com Registered & Protected

Monday, October 24, 2011

Kitchen Project Update

So as many of you might know, I had been working tirelessly on my Kitchen Makeover.
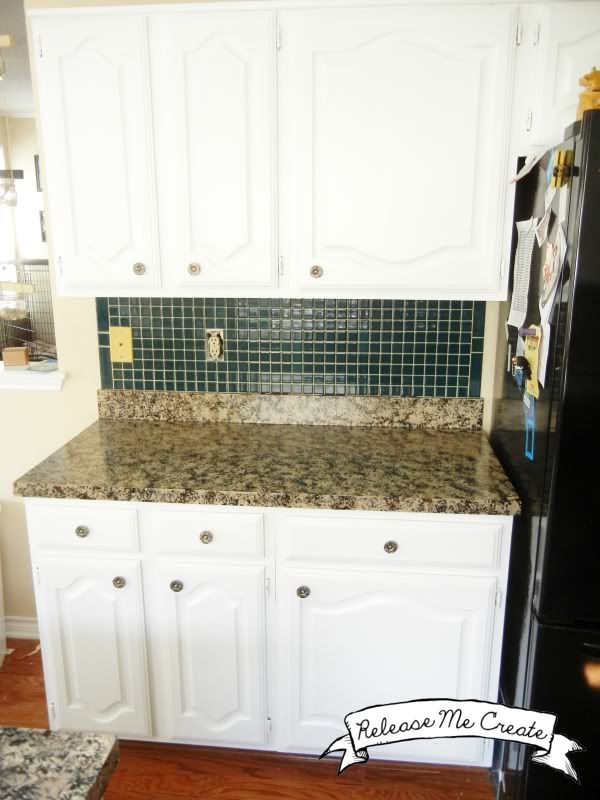
I painted the countertops to look like granite:

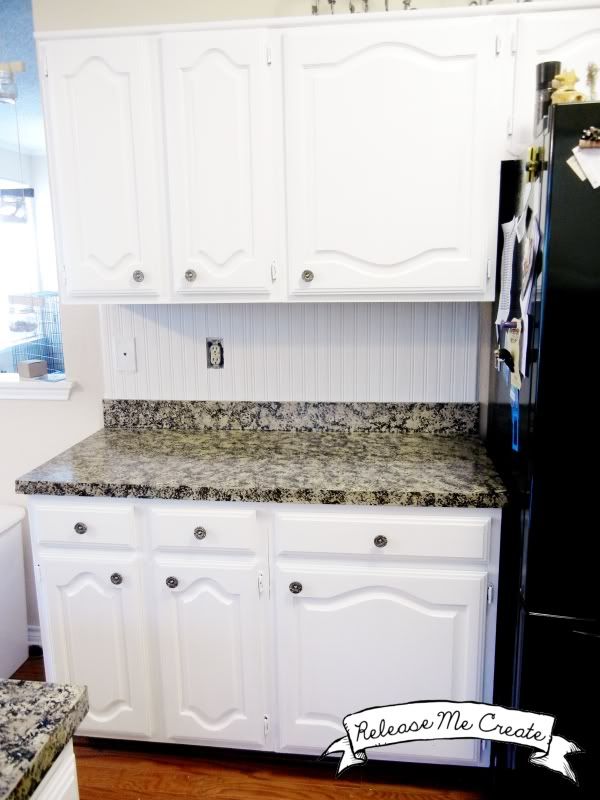
Then I added Beadboard Wallpaper as the backsplash:
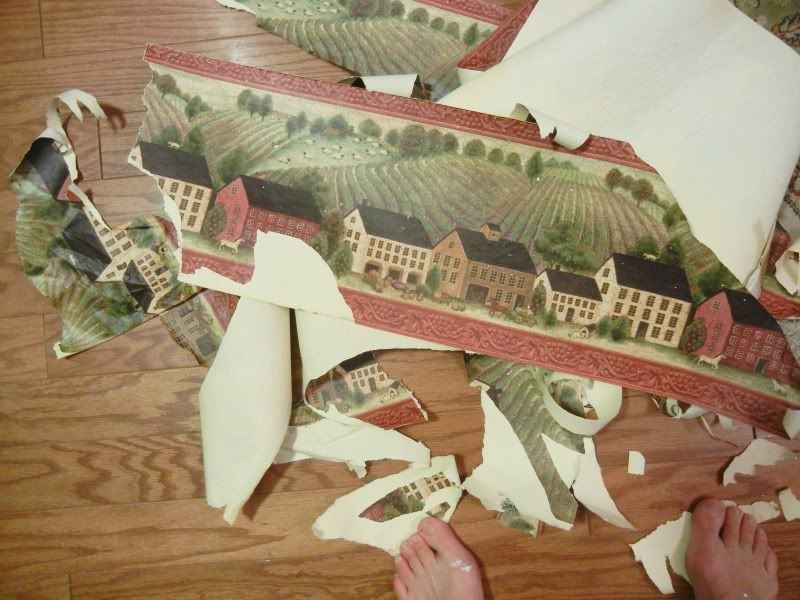
I then began removing the ugliest border in kitchen history.

So where am I in the process?
Why did I stop posting about it?
Why did it come to a screeching halt?

Well, here is the story:
We started having foundation issues that were causing cracks all over the house, and were causing almost all of our first floor doors to not close properly.
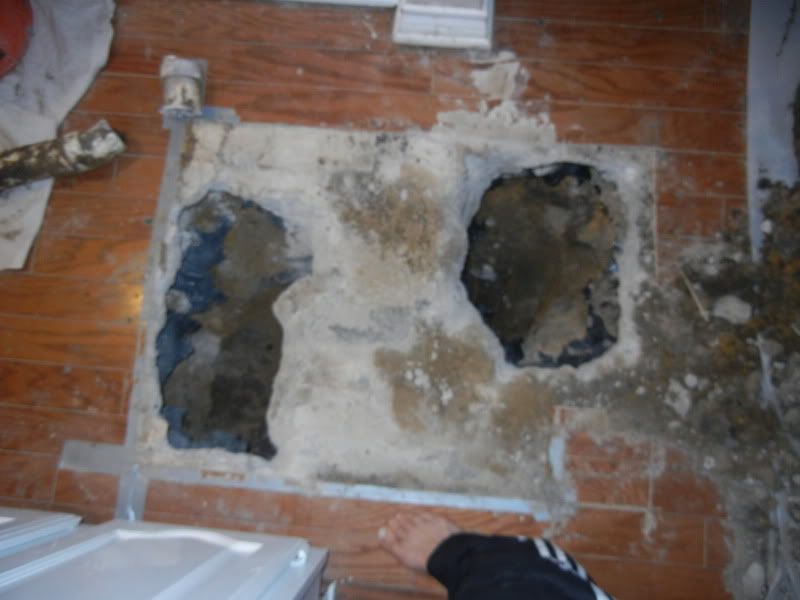
I had to put a halt to my border project as I needed to wait for the house to settle to being fixing the cracks, and then painting over the newly clean border area.  They had to put piers in on the other side of our house, then they caused a huge sewer leak, which then led to two giant holes in our hardwood kitchen floor.
The holes are now filled in with cement but we cannot repair the floor in that spot.  Looks like I'll be doing a post on how to craftily cover up giant cement areas of your kitchen floor!

So right now there is a hold on my kitchen. This has been breaking my heart. And I have been feeling so helpless as I don't have control over the house shifting. It is unsettling to say the least. I love our house, but these issues are causing me so much stress!  It has cost us a fortune, and a fortune is something we don't have...and who knows if the house is going to settle now.

Alas, I shall resume hopefully within the next few weeks as long as no new cracks show up.

MyFreeCopyright.com Registered & Protected

Tuesday, September 6, 2011

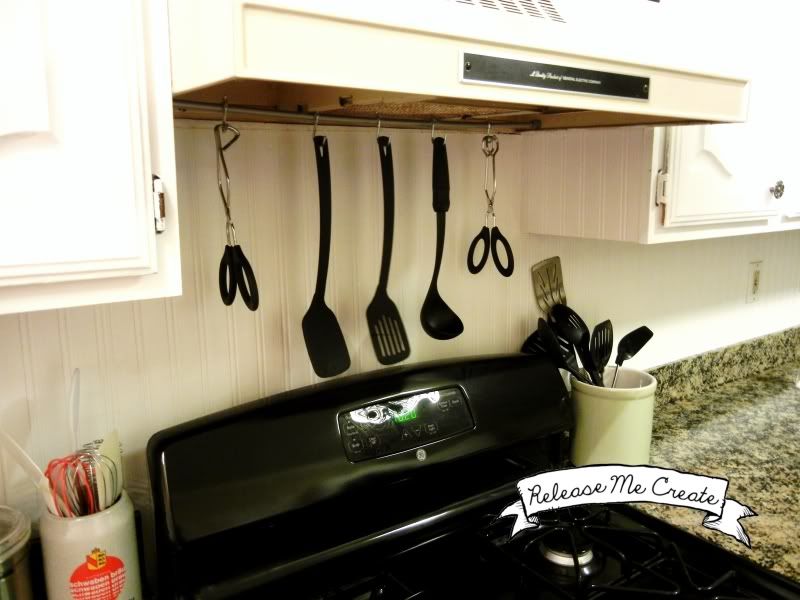
DIY Wednesday: Stovetop Organization

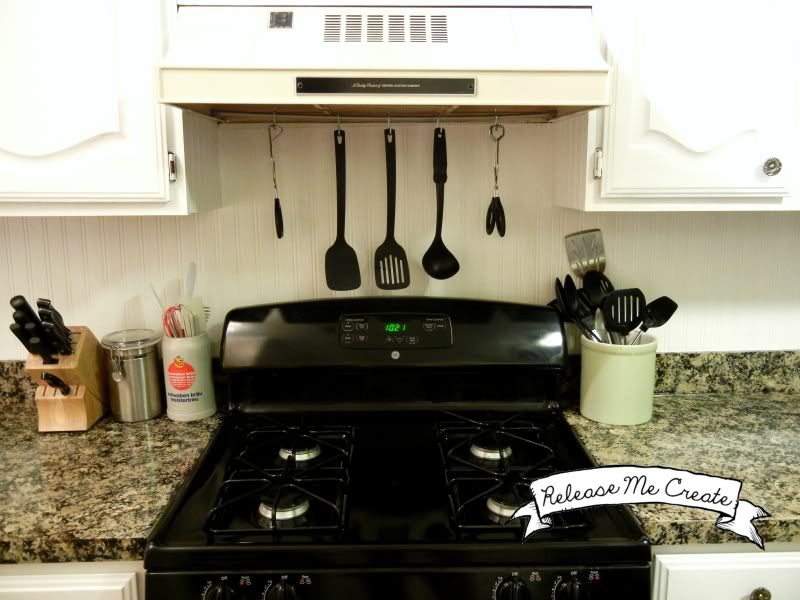
So today I bring you the easiest DIY project to help organize some of your utensils.  I think it also adds a cute little decor element to your stovetop backing.
Sorry, I'm not doing my full kitchen reveal yet.  I'm still working on removing the old border glue, re-painting and then stencilling on some new border elements.  When I finish that up, I'm going to do a full kitchen reveal post!  WHOHOO!
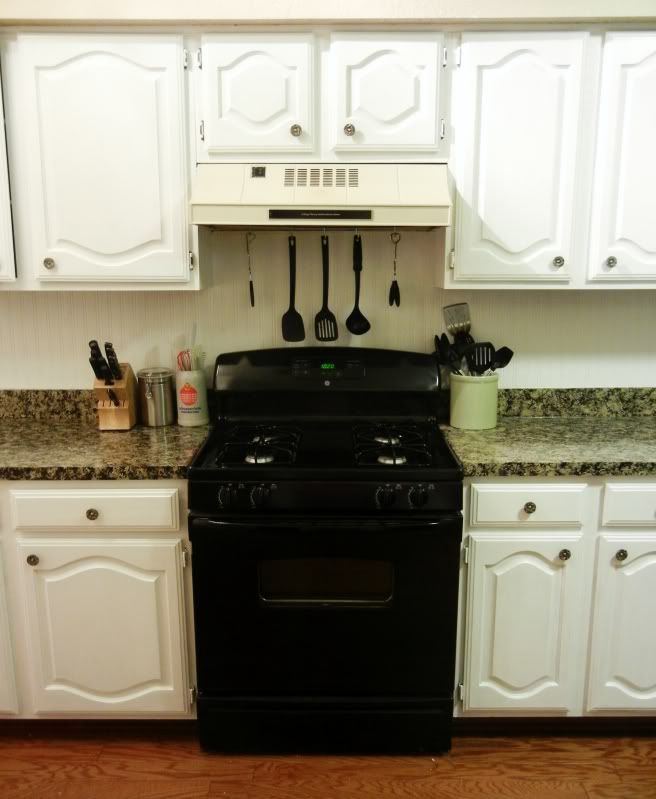
But you do get a sneak peak in this post...the beadboard wallpaper is painted and finished!
Anyway, back to today's project:
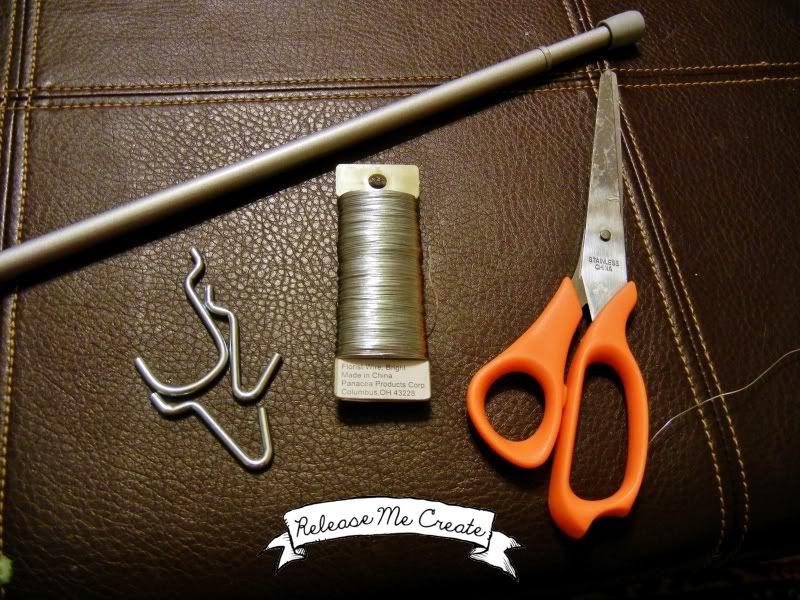
You will need:
1) Wire cutters, or scissors if your wire is thinner
2) Floral wire
3) Hooks (mine were for pegboard)
4) Tension bar
If you have hooks that have a loop that will slide onto your bar, you can ignore steps 1-2. I did not have these, and thus, this project was born.
1) Cut your wire to about 18"
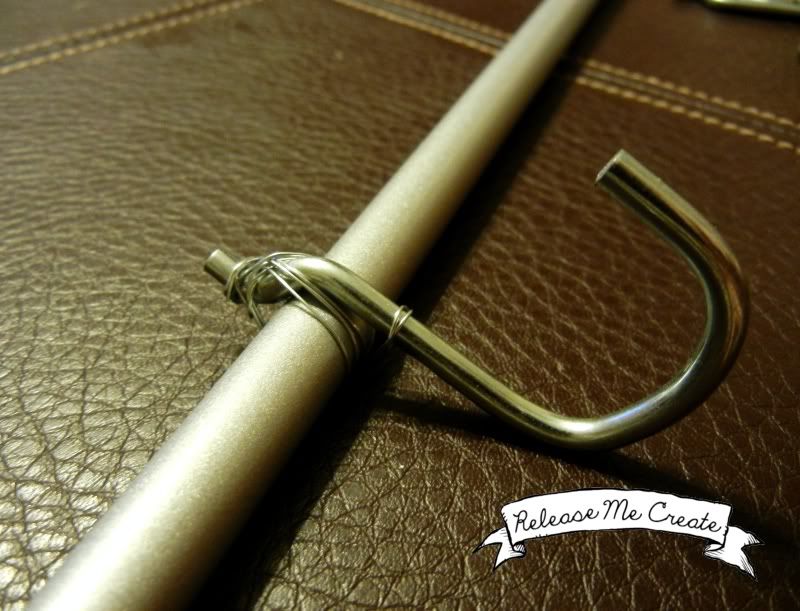
2) Wire wrap your hook onto the bar, and then space your hooks across your bar
3)Hang your tension rod across your stovetop, and then hang your utensils
BAM! You are done :) I told you this was easy.
I plan on adding one more element, but I'll save it for a future post.  TRANSLATE: I didn't have the supplies on hand :)
Have a great Wednesday!!
WHERE MY POST AND I ARE PARTYING!
Come see my Blog Tip Tutorial on how to arrange your buttons like this:


Photobucket

MyFreeCopyright.com Registered & Protected
back to top