


 Here is what I used:
Sculpey Clay
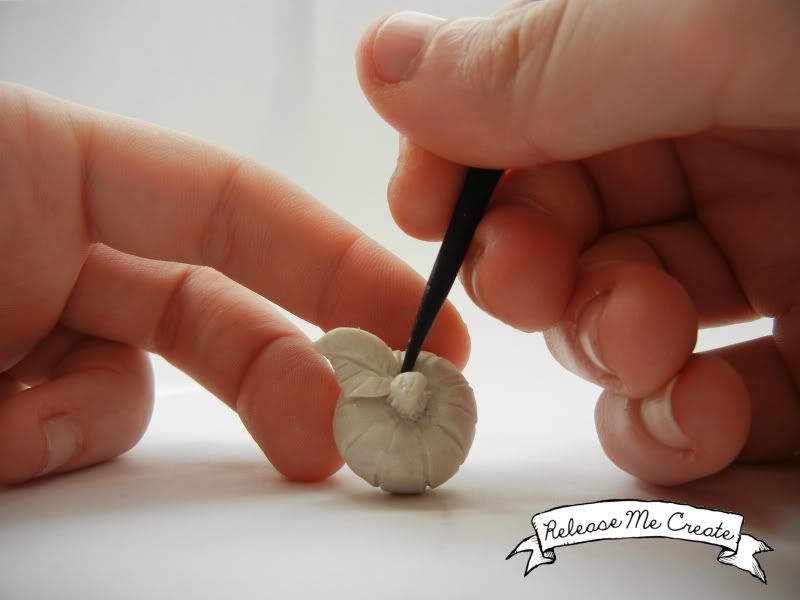
A clay tool (you can use anything really that will help you draw some lines on the clay)
Oven
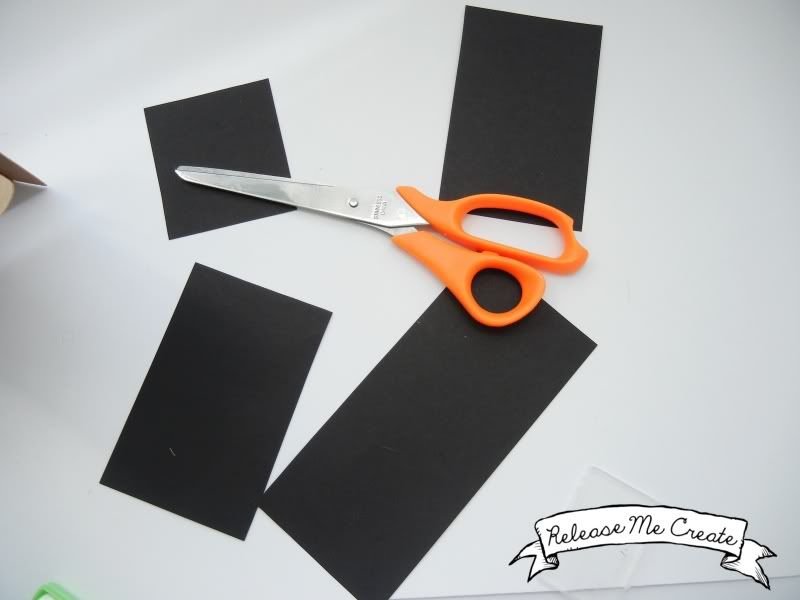
Black Cardstock
Mod Podge
Small Gift box
Clear Beading String
So I made the pumpkins first:
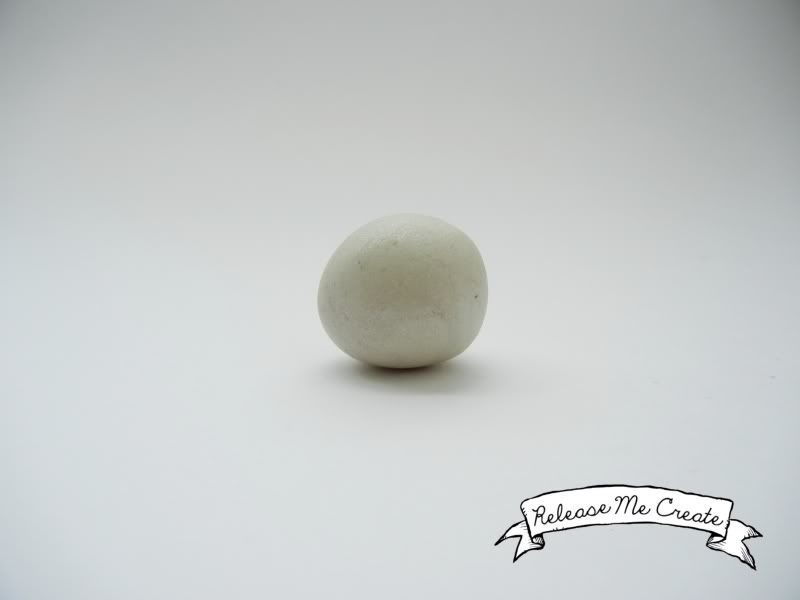
1) Roll piece of clay into a ball


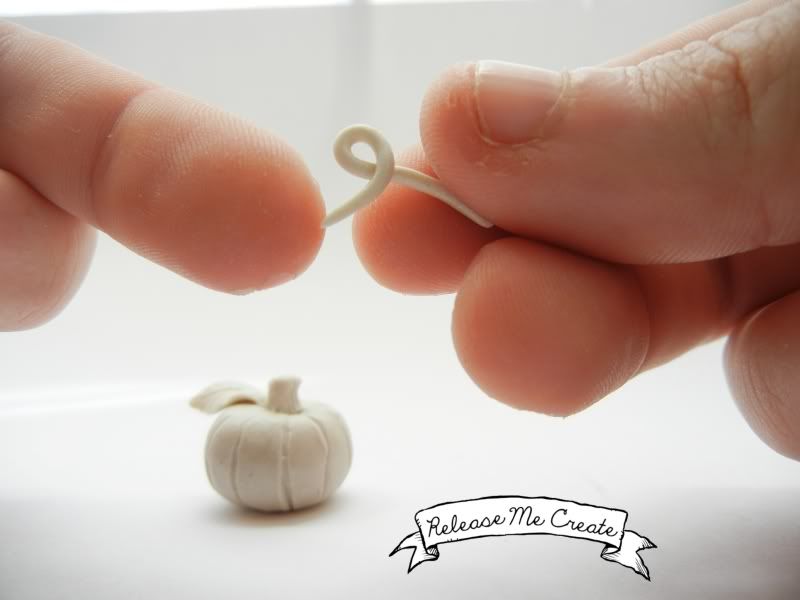
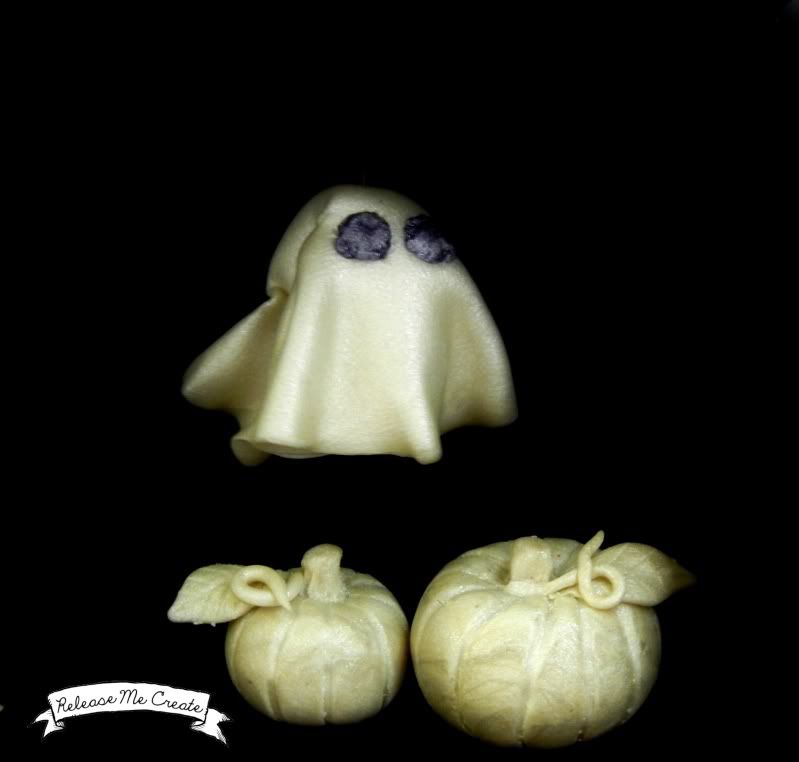
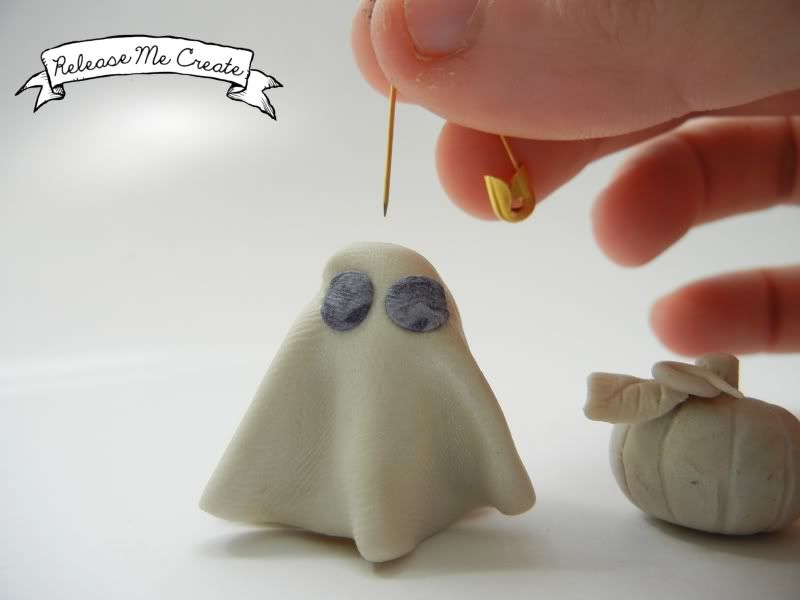
Next, my ghostie (I'm not quite happy with his eyes, but I was in a rush to finish, and well, it shows):
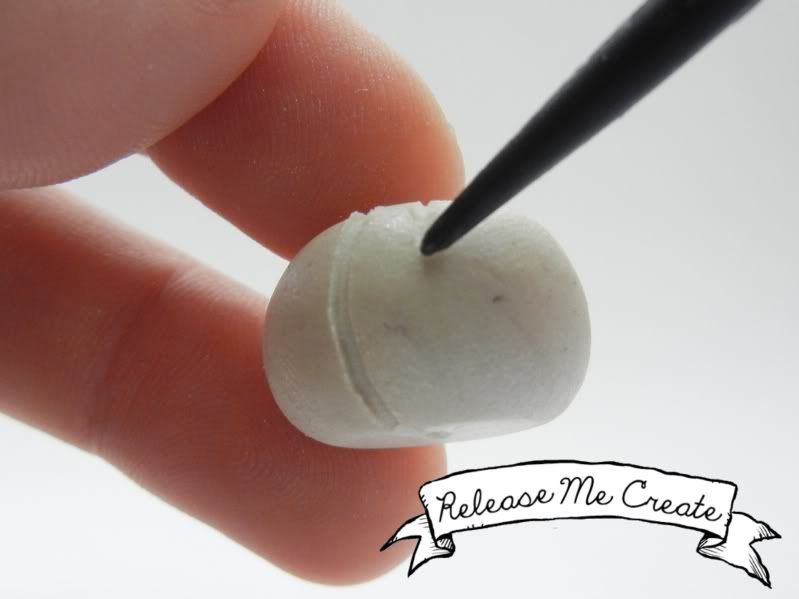
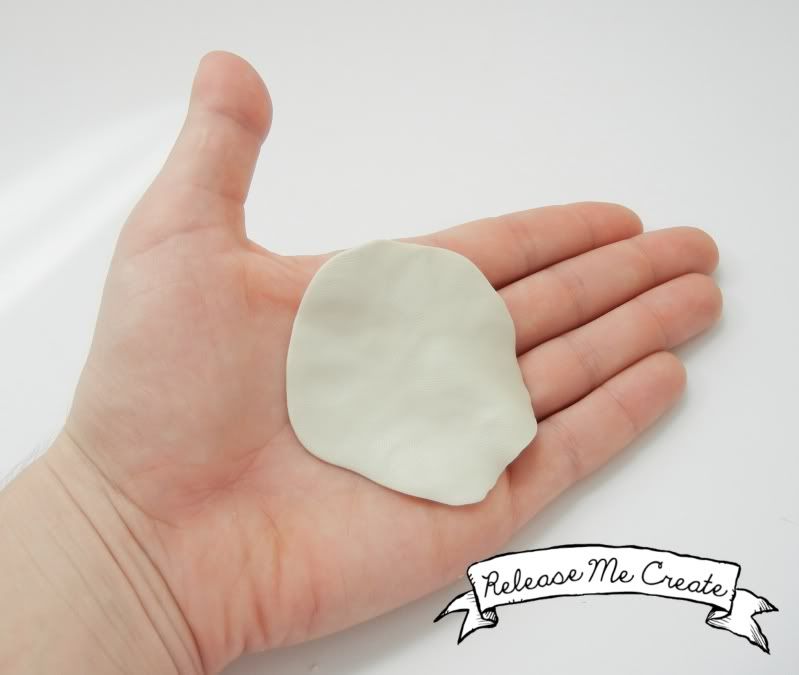
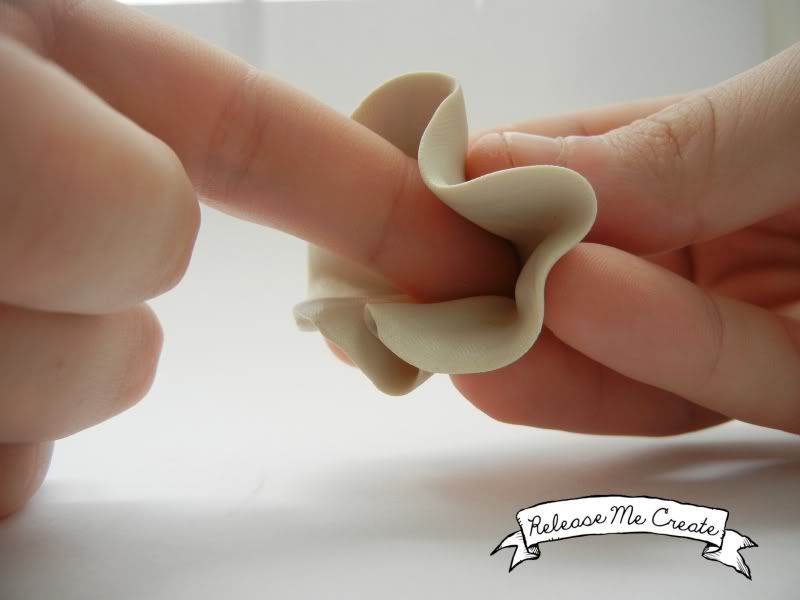
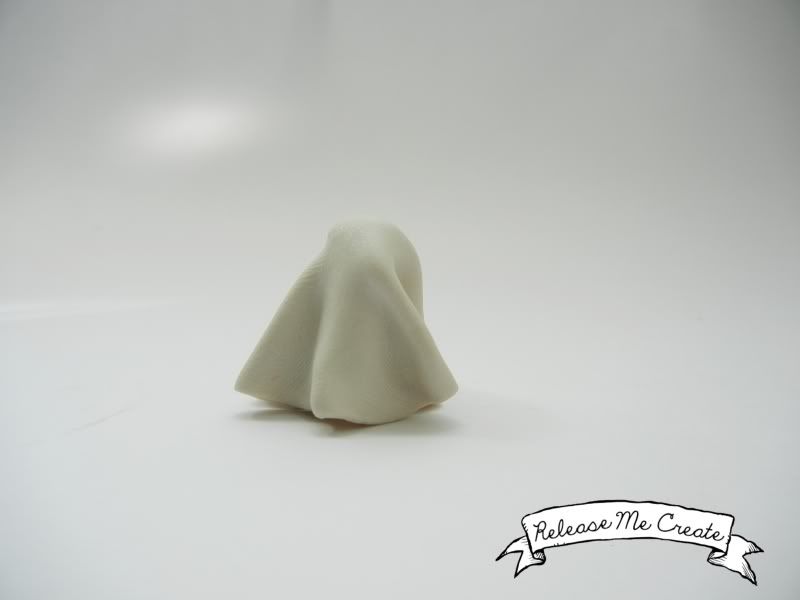
1) Roll a piece of clay into a ball, and then gently flatten keeping the circular shape (I just used my fingers. I have the crank machine that will do this, but who has time for that?) :)
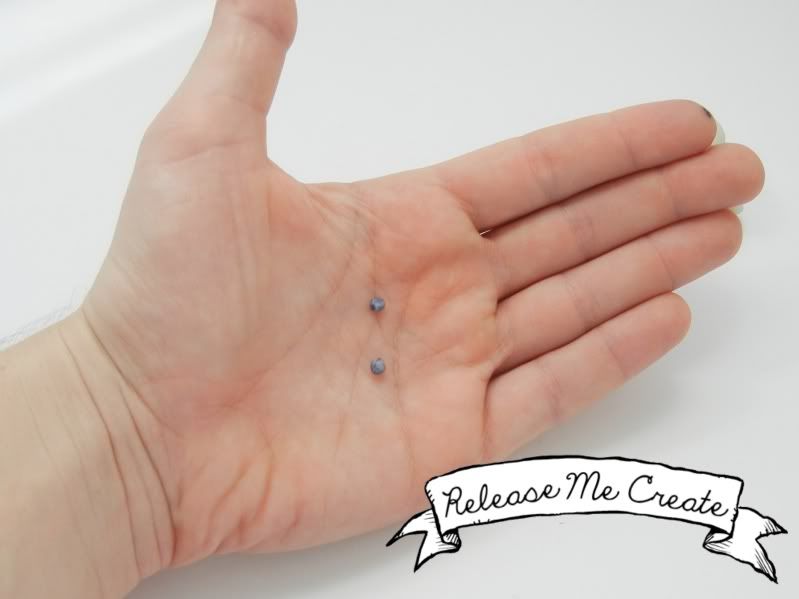
3) Roll out two tiny balls of clay for the eyes. I had some grey on-hand, but you can color the white clay with permanent marker as I have often done when I don't have the right color for tiny detail work. DISCLAIMER: I'm not quite happy with the eyes, but I didn't have time to re-do them as I was trying to finish this before I went to the karate school)
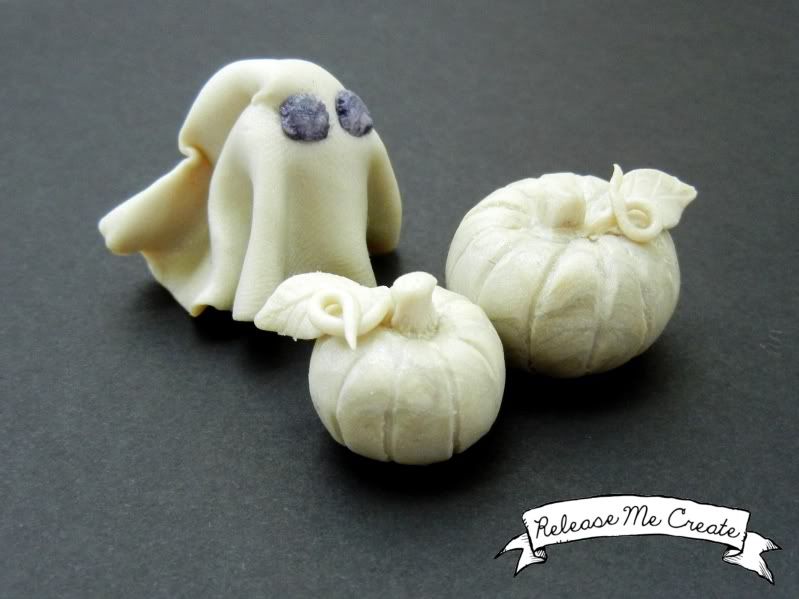
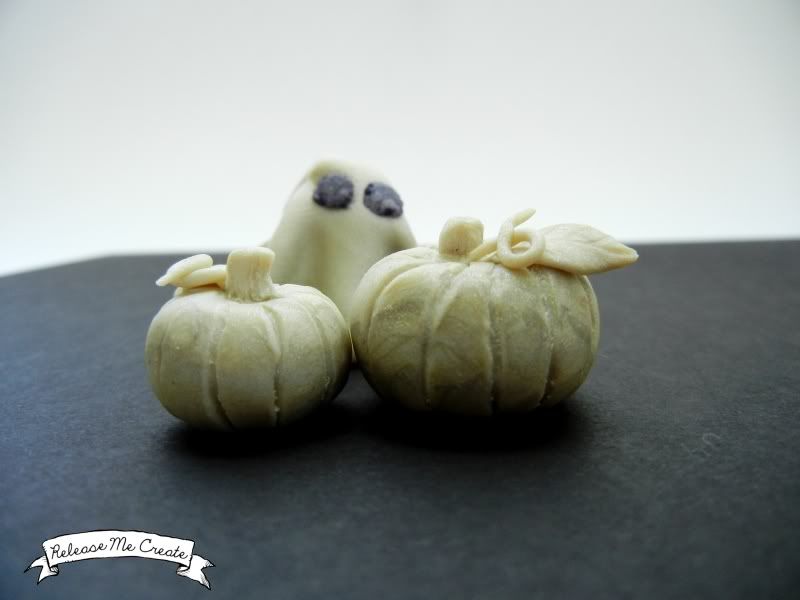
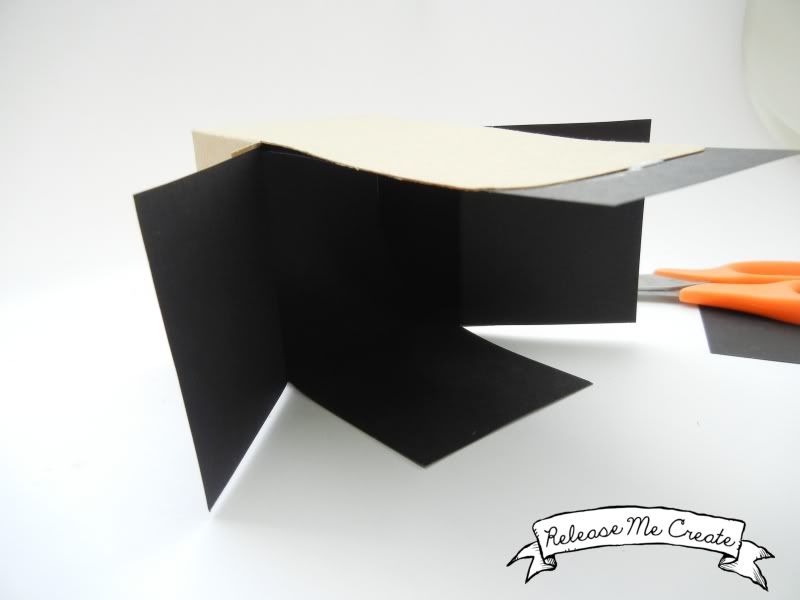
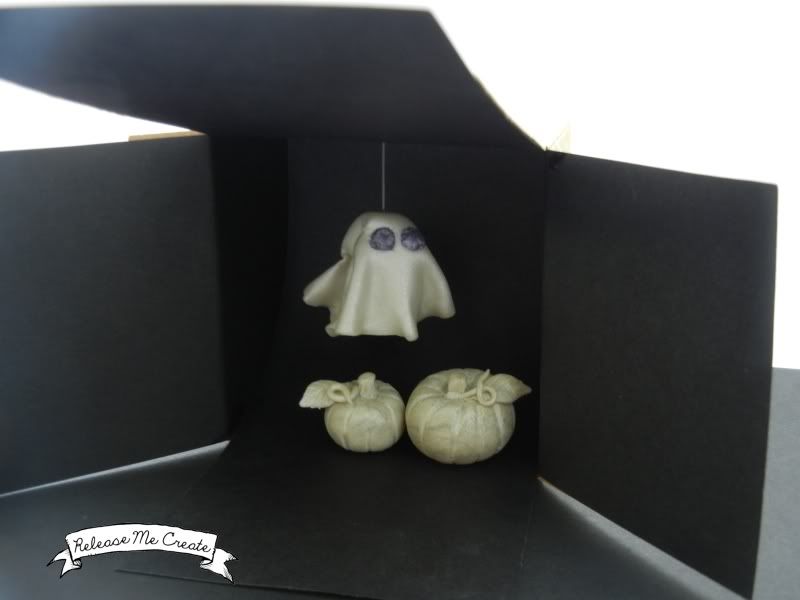
Now, you can stop here, but I wanted to make my little ghosty float over my pumpkin patch, so I made a tiny little diorama using a gift box:
1) I measured and cut the cardstock, and then mod podged it into the inside of the box
3) I then strung the invisible beading string through my ghost and knotted it, strung the ghost from the top of the box and knotted it so he floated where I wanted, then just insert pumpkins and TADA!
Par-tay!
(For the tutorial on how to arrange your party buttons like below, head HERE)


HAPPY HAUNTING!!!


4 COMMENTS:
too cute!
Eee!!! These are stinking cute maureen :) I have some fimo...and I think why not :)
You did such a fantastic job! I could never make something so tiny so perfect. Thanks for sharing at Taking A Timeout Thursday! Hope to see you again this week!
-Trish @ Mom On Timeout
http://www.MomOnTimeout.com
@trumatter It is so much fun to work with!
Post a Comment