
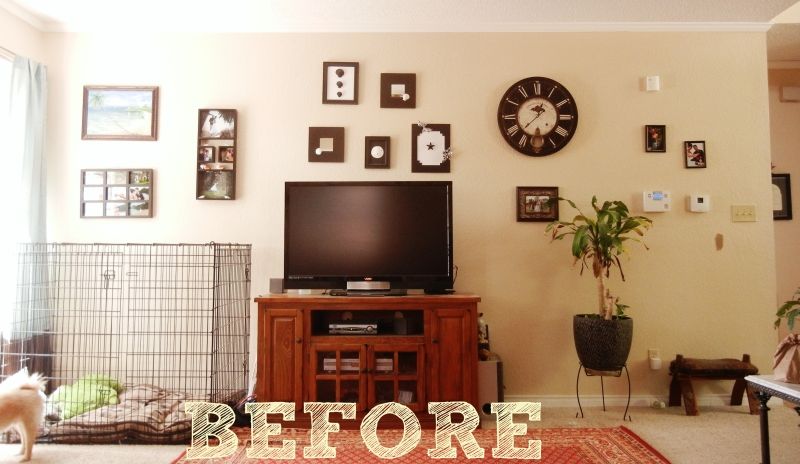
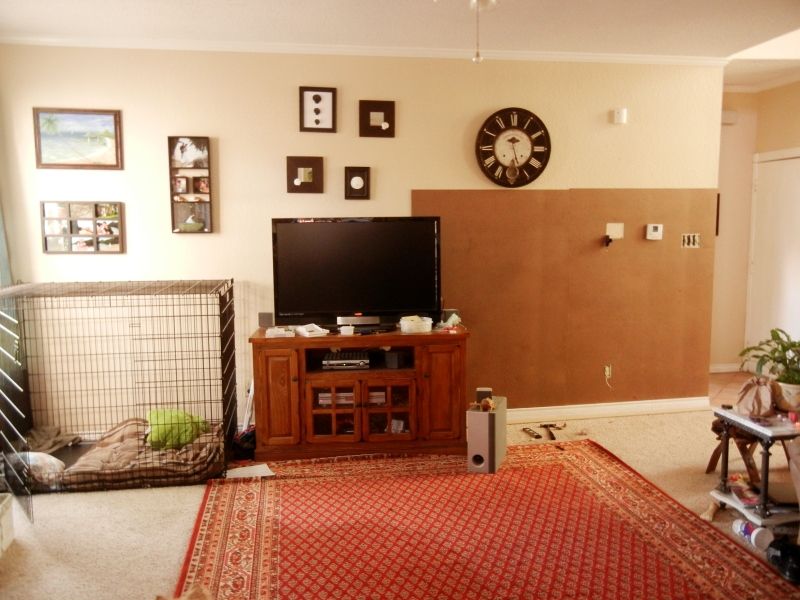
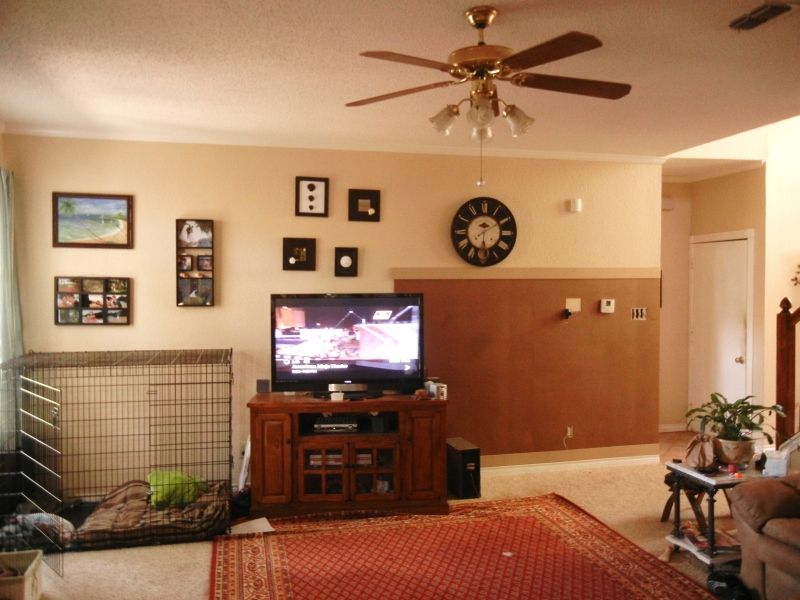
So, our living room wall has been bugging me for awhile. It was just so bla. And our entire first floor is one color. So I have been trying to figure out a way to update it and make it amazing.
My answer was DIY Board and Batten!
Hover your mouse over the image below to see the before magically change to the after!
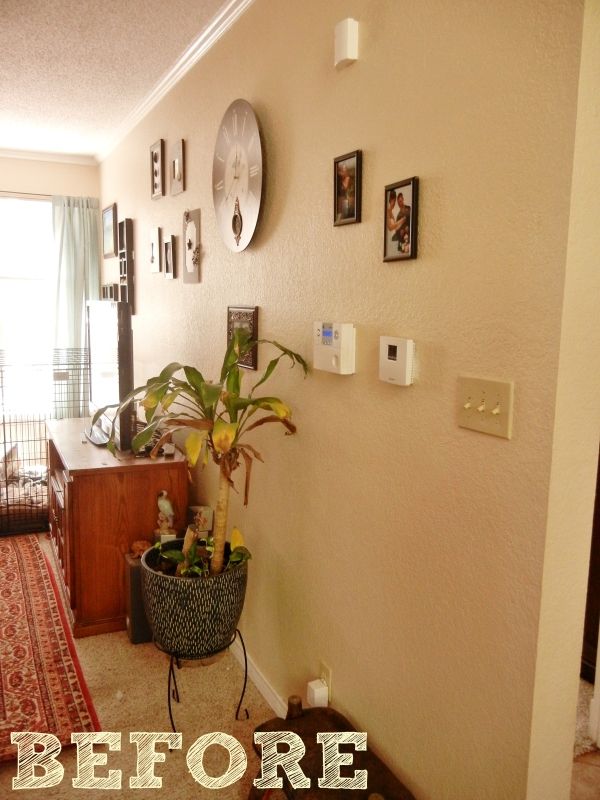
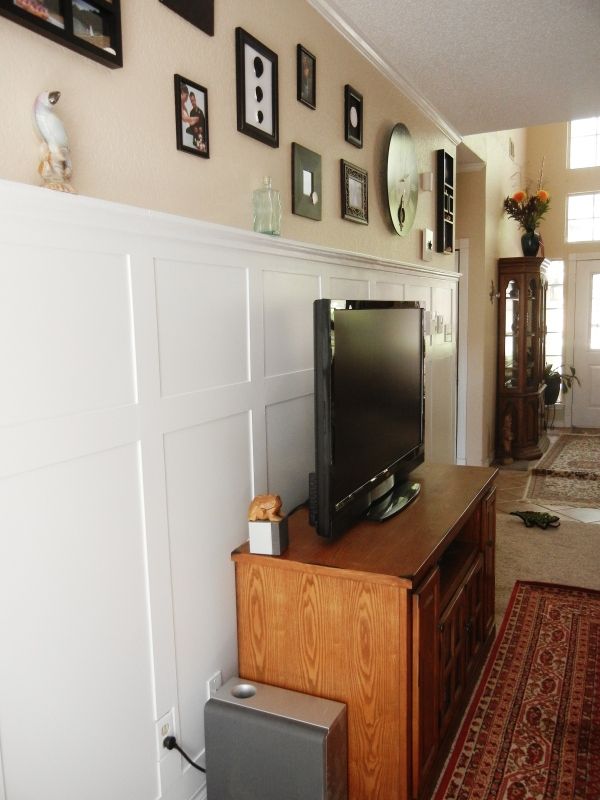
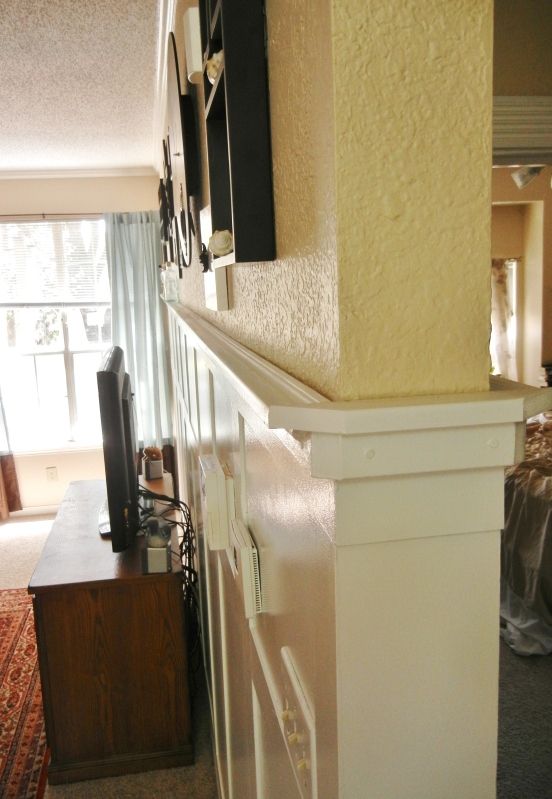
And the side view:
We like to call it our "Wedding Wall" as it's all pictures from our St. Lucia wedding. Which, funny enough, yesterday was our 4th Wedding Anniversary! Perfect timing for a finished project.
Anyway, I researched and tried to make this the cheapest yet most striking renovation possible. My total for everything was only $150!!! But it looks so much more expensive. I love it!
Here's what I used:
4x6 Paneling (Fiberboard $8.56/panel)
MDF Bender Boards (1.98 each...come in 8ft lengths
Liquid Nails
Brad Nails
Molding (Crown and Cove)
Paint + Primer (Glidden)
Nail Setter
Nail Hole Filler
Caulk
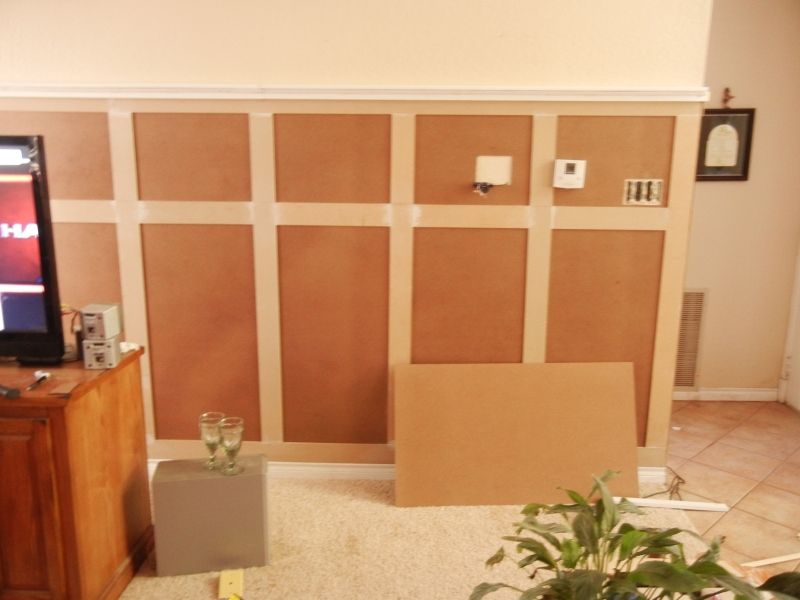
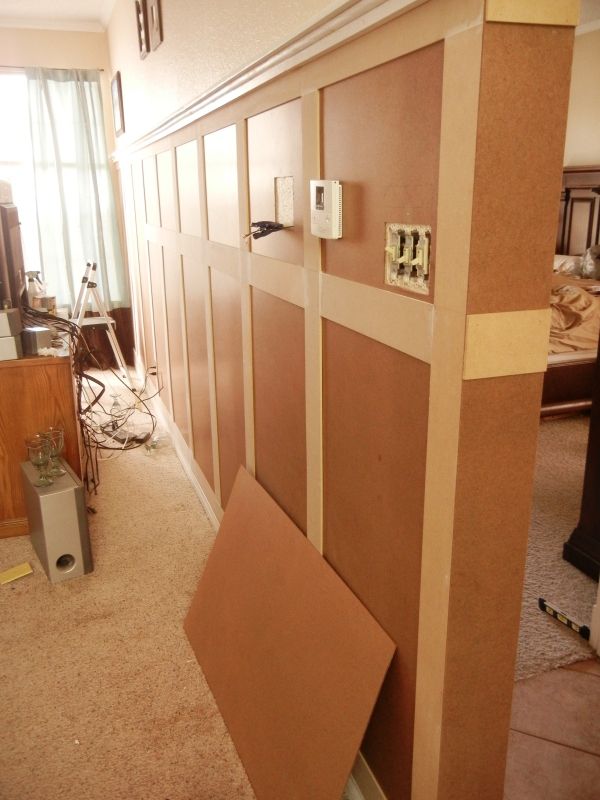
First I put up the paneling using Liquid Nails and Brad Nails for reinforcement. I WAS NOT lucky enough to own a nail gun so those puppies went in nail by nail with good ole' elbow grease. I also used this fabulous tool called a "Nail Setter" which recessed the nails without me having to hammer onto the paneling causing further dents and marks.
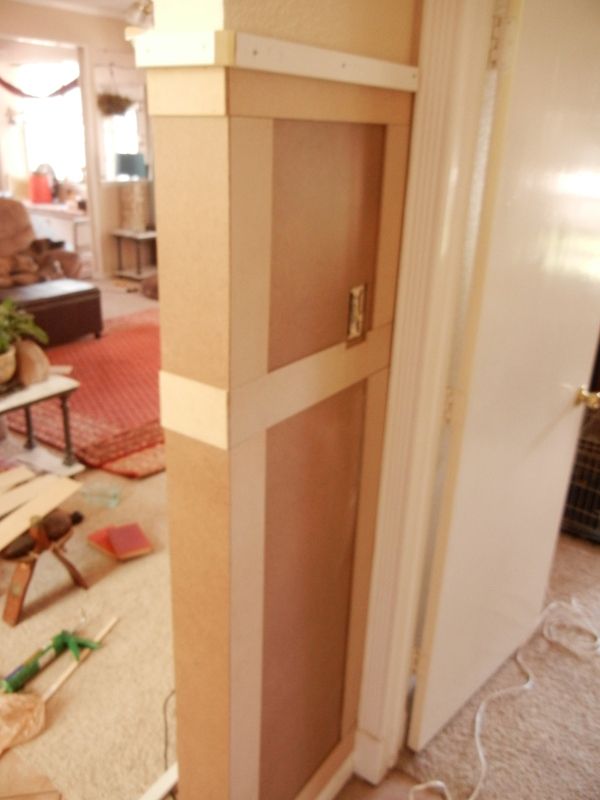
Then I did the vertical. I decided to cover the cracks instead of having to cover those with spackle. So my measurements were based on that. The very last board at the far left was a bit smaller due to this, but I didn't really care too much as the curtains cover it. The smaller horizontal boards went in last:
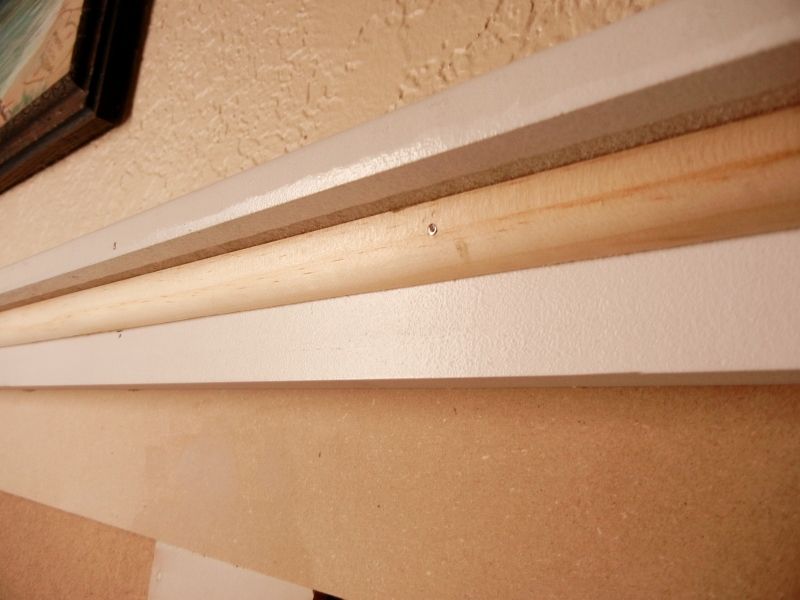

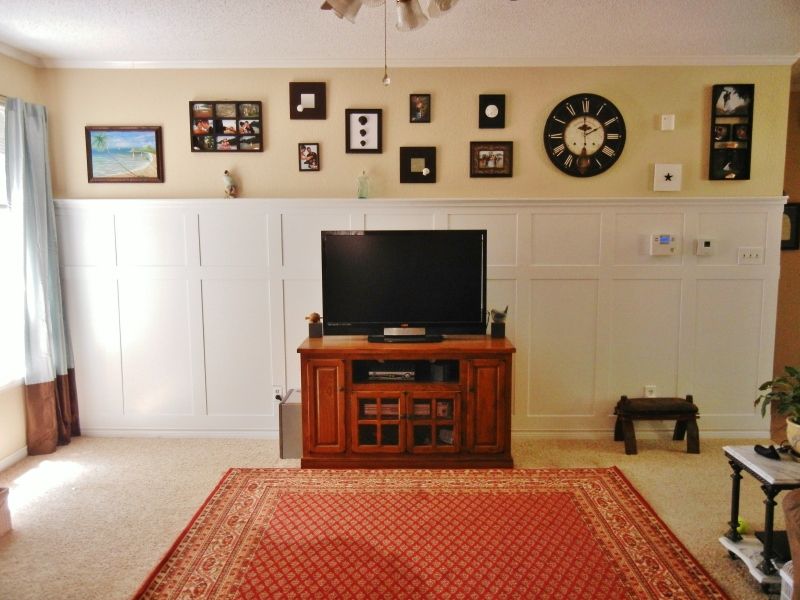

Here you can see the small shelf. I didn't want it to stick out too much, so this was perfect for me:


OH! And one more thing. As this project finished up, I was on a roll and decided to do the dining room. I'll be unveiling that project tomorrow. Not Board and Batten, but a pretty dramatic transformation nonetheless.


4 COMMENTS:
Thanks for posting! It looks great.
I am constantly looking for projects to spruce up my house that are cheap and fairly painless. I have little to no DIY experience and loathe directions. I feel like this is *maybe* something I could do.
Excited to see the coming projects!
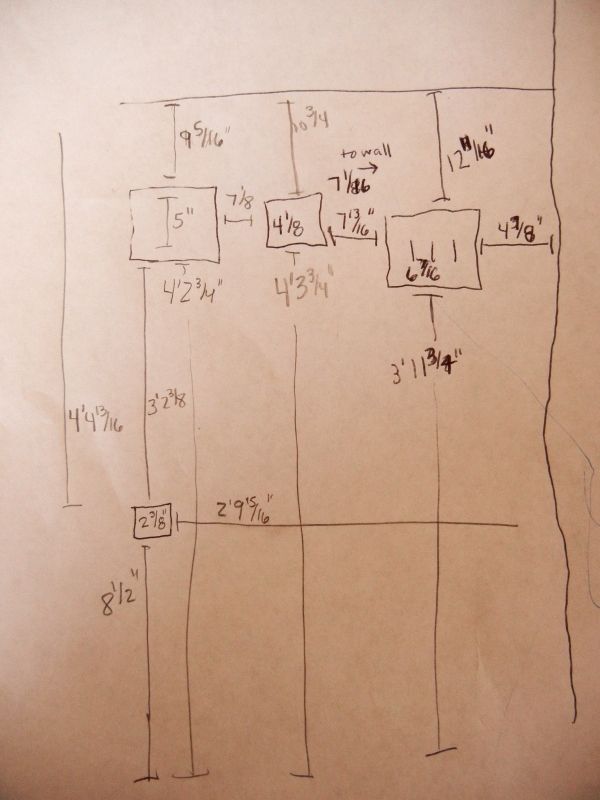
what are the measurements for the boxes? height / width?
@Rob GraffThe height of the board and batten was 5.5', and then about 1" was added to that with the top shelf.
Each vertical batten is separated by 19.75", and then horizontally. The top box measures 1.5' within the battens. I really figured it all out by just looking at my wall and deciding where they would look good :)
Hope this helps.
Super and very amazing blog about the Board and batten keep posting these like article.
Board and batten siding
Post a Comment